


The Autumn Column: Pumpkin Mug Cozy (Pumpkin Series Day 3)
Ok. Have I mentioned that I like pumpkins?

Maybe I haven't. ;)
So today's pumpkin post is gonna be all about how to make this adorable little pumpkin cozy.
Here is a raspberry one I gave to my mom for her birthday this year. (She is obsessed with them)

She loved it. Score.
So let's get moving!
Crochet Language:
ch-chain
sc-single crochet
dc-double crochet
hdc-half double crochet
sk-skip
st-stitch
slst-slip stitch
Now, to start, I want to say that this pattern is not totally my own.
So, as a good citizen, I must give credit to the real brain behind the pattern: littlemonkeyscrochet
BUT, I did modify the pattern. She had a ribbed half double crochet throughout, and to be honest, I think using the normal half double crochet stitch is faster, easier, and cuter.
Also, hers was a Valentine's Day cozy. So it was red instead of white, and had a small felt heart on it. If you go on her site, you can check it out! It looks very cool!
Here's what you need:

-Pumpkin colored felt
-Leafy green colored felt
-White worsted weight yarn
-Scissors
-H (5 mm) hook
-Pins and needles
-Tapestry needle
-A button
-Embroidery floss in pumpkin, leaf green, white, and chocolate brown.
Optional:
(All of these I keep with me regardless of the project, because they come in handy)
-tape measure
-stitch/row counter
-calculator
-stitch markers
-seam ripper
Estimated time:
1 hour
Difficulty:
Easy
Ch 11
Row 1: hdc in 2nd ch from hook. hdc in next 9 (10 hdc)
*Chain 1 does not count as a stitch
Rows 2-5: ch 1; turn. hdc in same st and each st across (10 hdc)
Rows 6-13: ch 1; turn. sc in same st and in each st across (10 sc)
Rows 14-24: Ch 1; turn. hdc in same st and in each st across (10 hdc)
Row 25: Turn (do not chain). slst in first 3 st. ch 1, sc in same st and in next 5 st, leaving the rest unworked (6 sc)
Rows 26-28: Ch 1; turn. sc in same st and in each st across (6 sc)
Row 29: ch 1; turn. sc in same st and next st. ch 2; sk the next 2 st (button hole). 1 sc in each of the last 2 st.
Row 30: Ch 1; turn. sc in same st and next st. 2 sc in ch 2 space. 1 sc in each of the last 2 st. (6 sc)
Row 31: Ch 1; turn. sc in same st and in each st across (6 sc)
Edging: ch 1 (do not turn). sc evenly around the entire cozy, adding an extra sc in each corner. Fasten off; weave in ends.
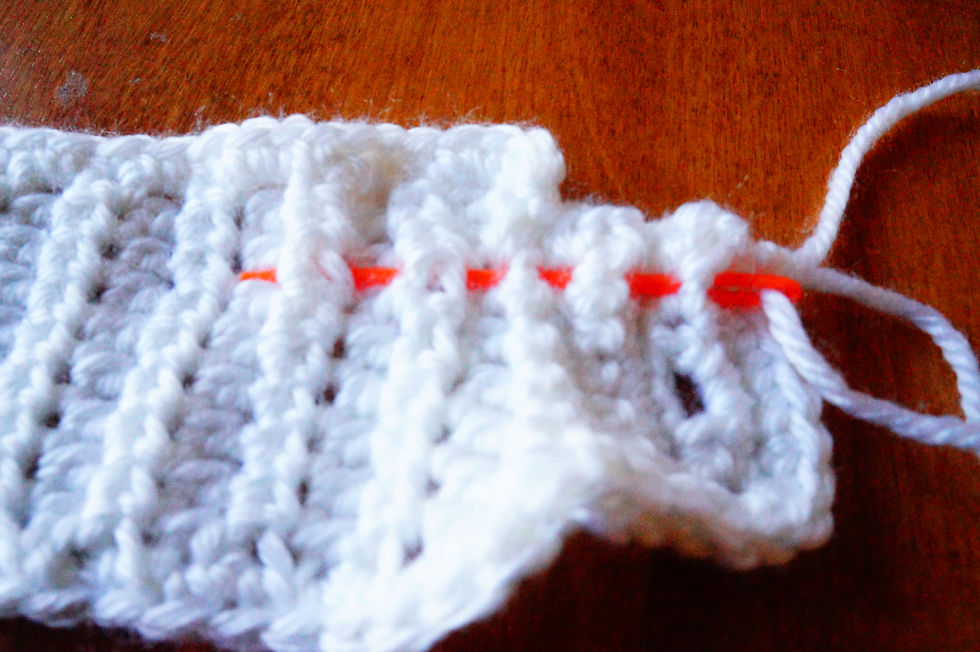
Here is what you should get (if you have any questions about your project, don't hesitate to contact me.)


Ok. Are we good so far? Take your tapestry needle and weave in the loose strings on your project.
Now here comes the fun part:
Take your needle and white thread and sew on a button (on the opposite end of where your button hole is):


With the pumpkin felt, cut out three identical oval shapes. I used my spool as a guide for size:

It's kinda hard to see, but with a pencil I made a rough oval shape. These do not need to be perfect AT ALL:

And after cutting them out, assemble on your cozy and adjust as needed:

Now, with the green felt, cut out a leaf shape (doesn't have to be perfect) and lay it on your pumpkin shape:

If you like the way it looks, you can take off the leaf and top oval, and pin the other two ovals to the cozy (hope that makes sense):

Sew:

Pin the third oval:

Sew that one:

Pin your leaf:

Sew, sew, sew!

Then, with your chocolate colored embroidery floss, just freehand a little stem for your pumpkin, it doesn't have to be anything special:
Ta-da! You are done. And will be the envy of mug-users everywhere.
This is the PERFECT GIFT. Simple, easy, cheap, useful, cute. What's not to like?
Also, a great way to use up scraps.
I know this because I made the raspberry one entirely out of scraps.
More pumpkins coming soon!
Lots of love,
Kat
Comments